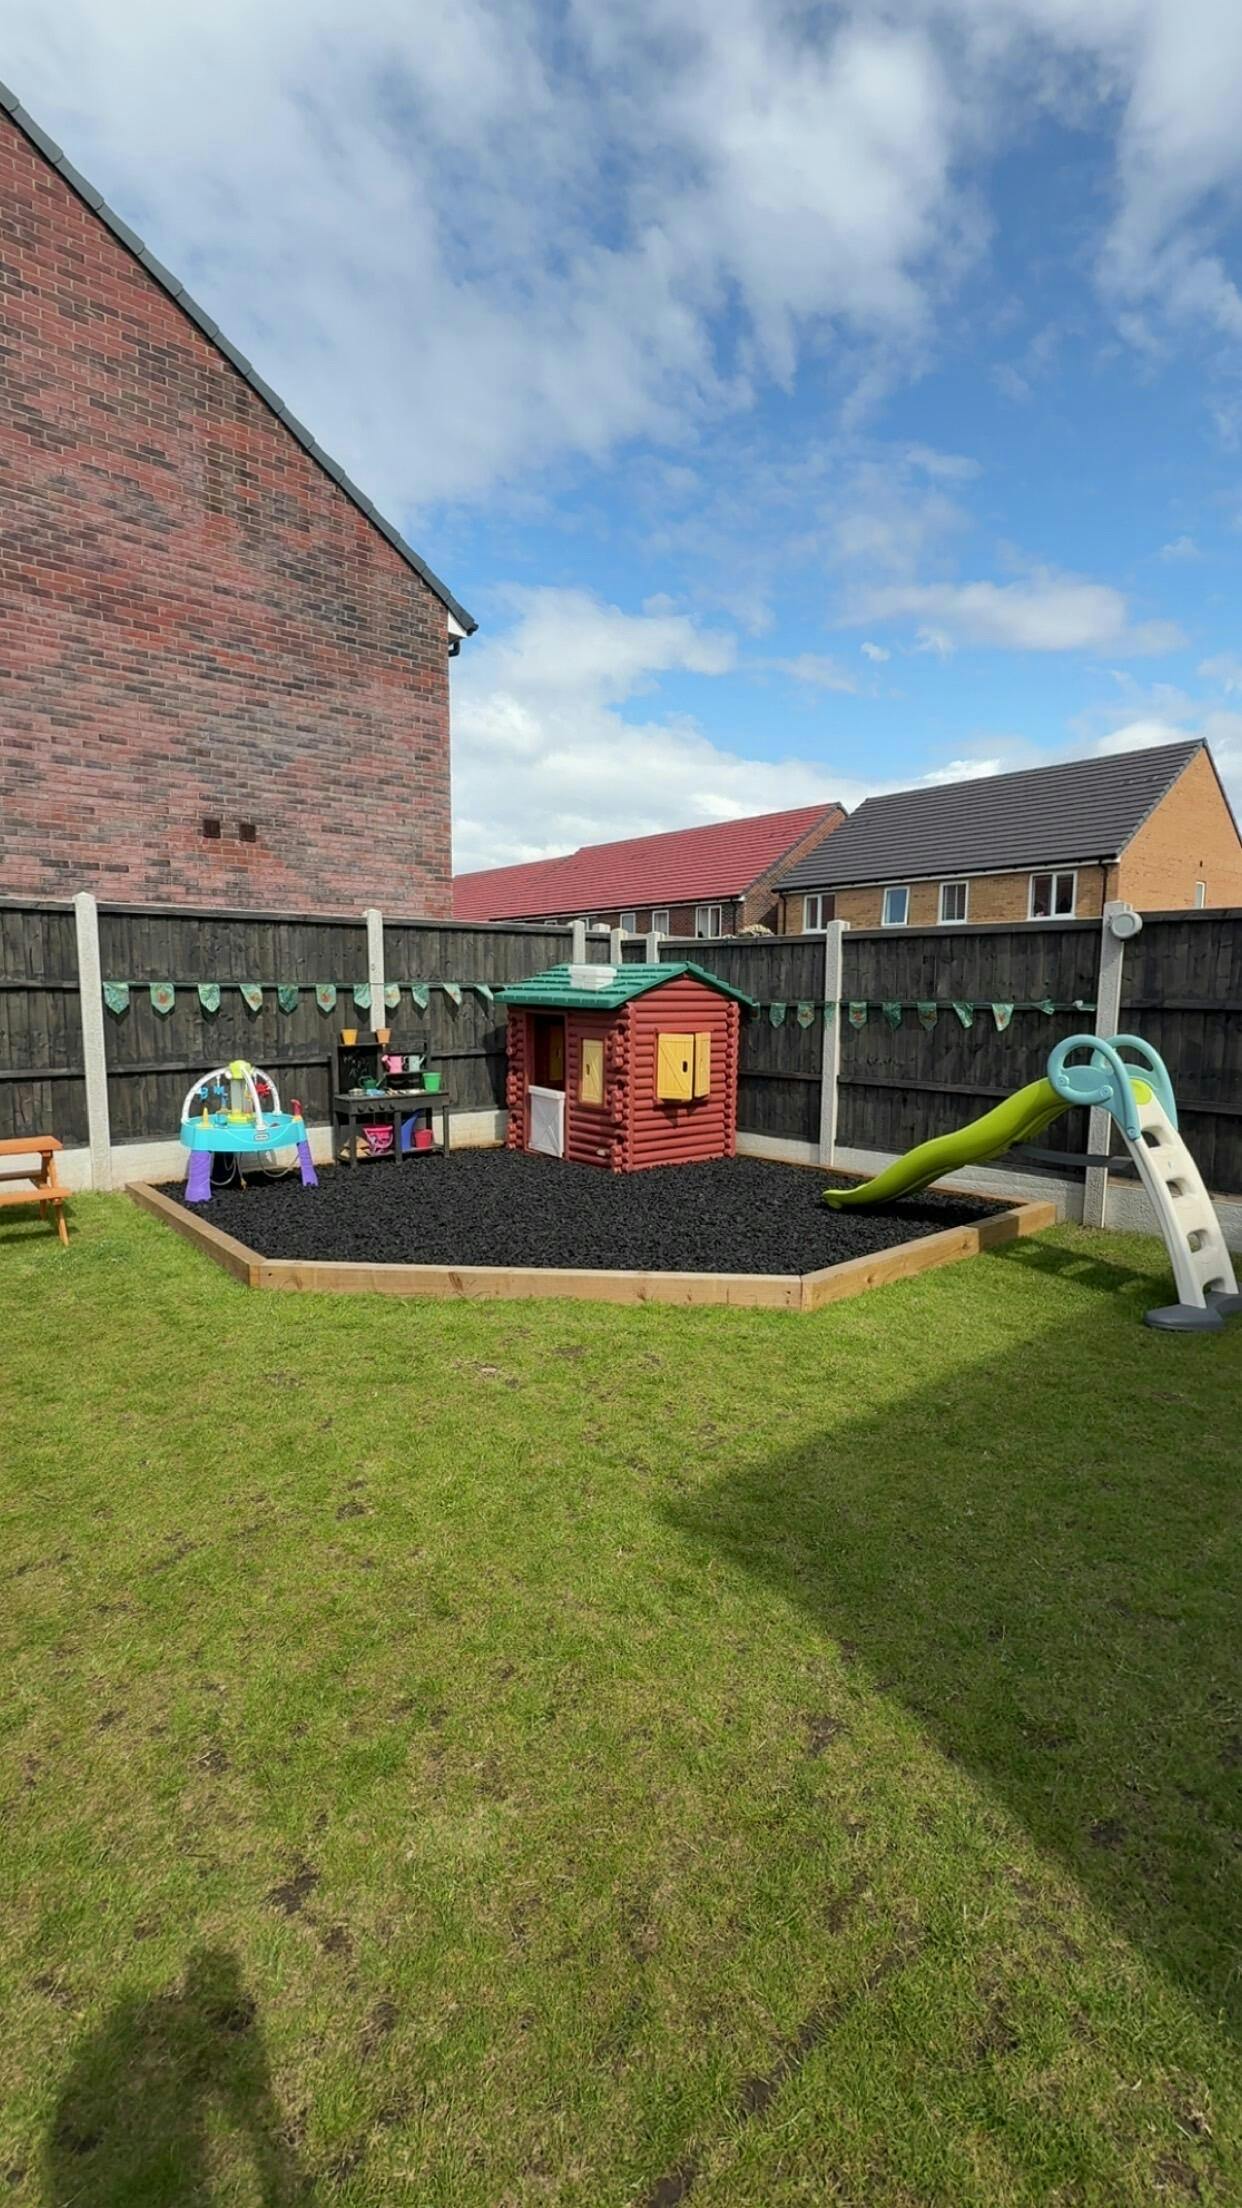
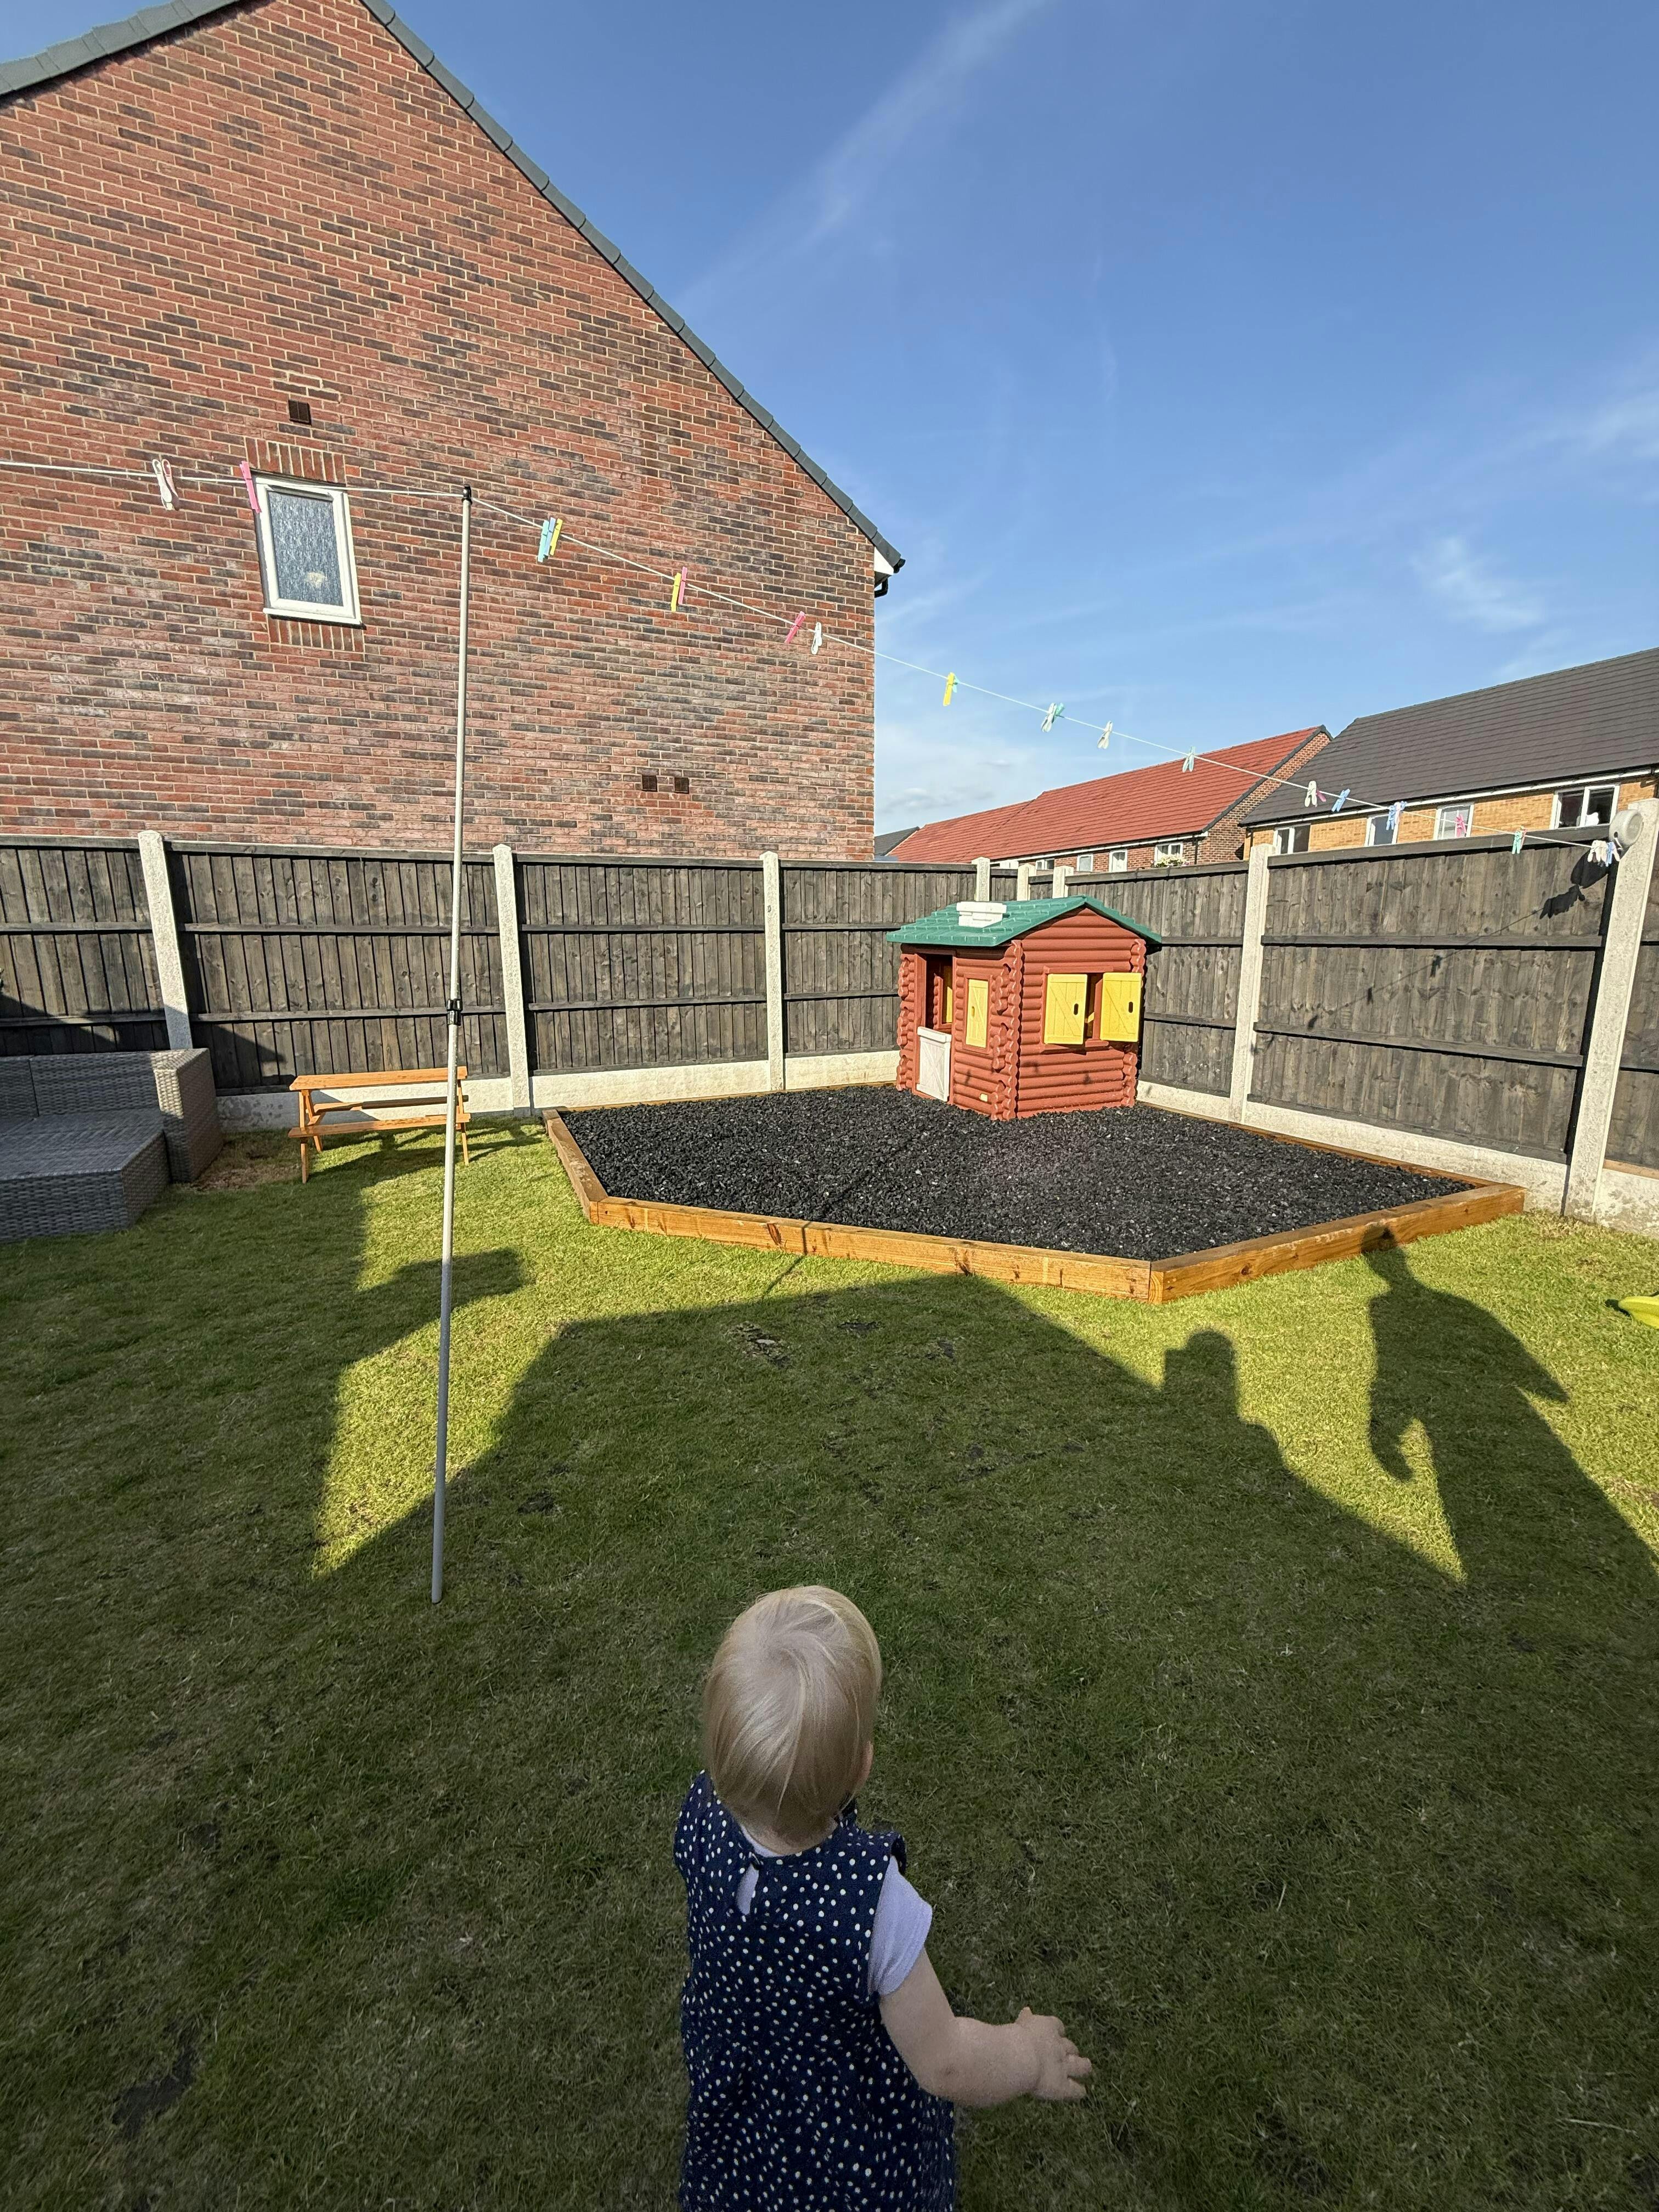
Great product, looks good in my garden for my children’s slide. Though I ordered grey, I’d say it’s a blue/grey, but is still nice and does the job. Communication was good from the company. Delivery did take a little longer than expected, but company contacted me to apologise as there was a delay with production-these things happen, and they were helpful with arranging the delivery.

Works very well and easy to use, some time needed to prep the surface but easy to work with if you follow instructions.
We love our new Bark. After looking at a few different companies I choose this one as it was local and had the best options with colours. Quick delivery within 3 days and it came all packaged well on a big pallet. Highly recommend
I am so pleased with this - I am using it as mulch around plants as I find wood bark disappears too quickly - this looks great and have ordered another few bags
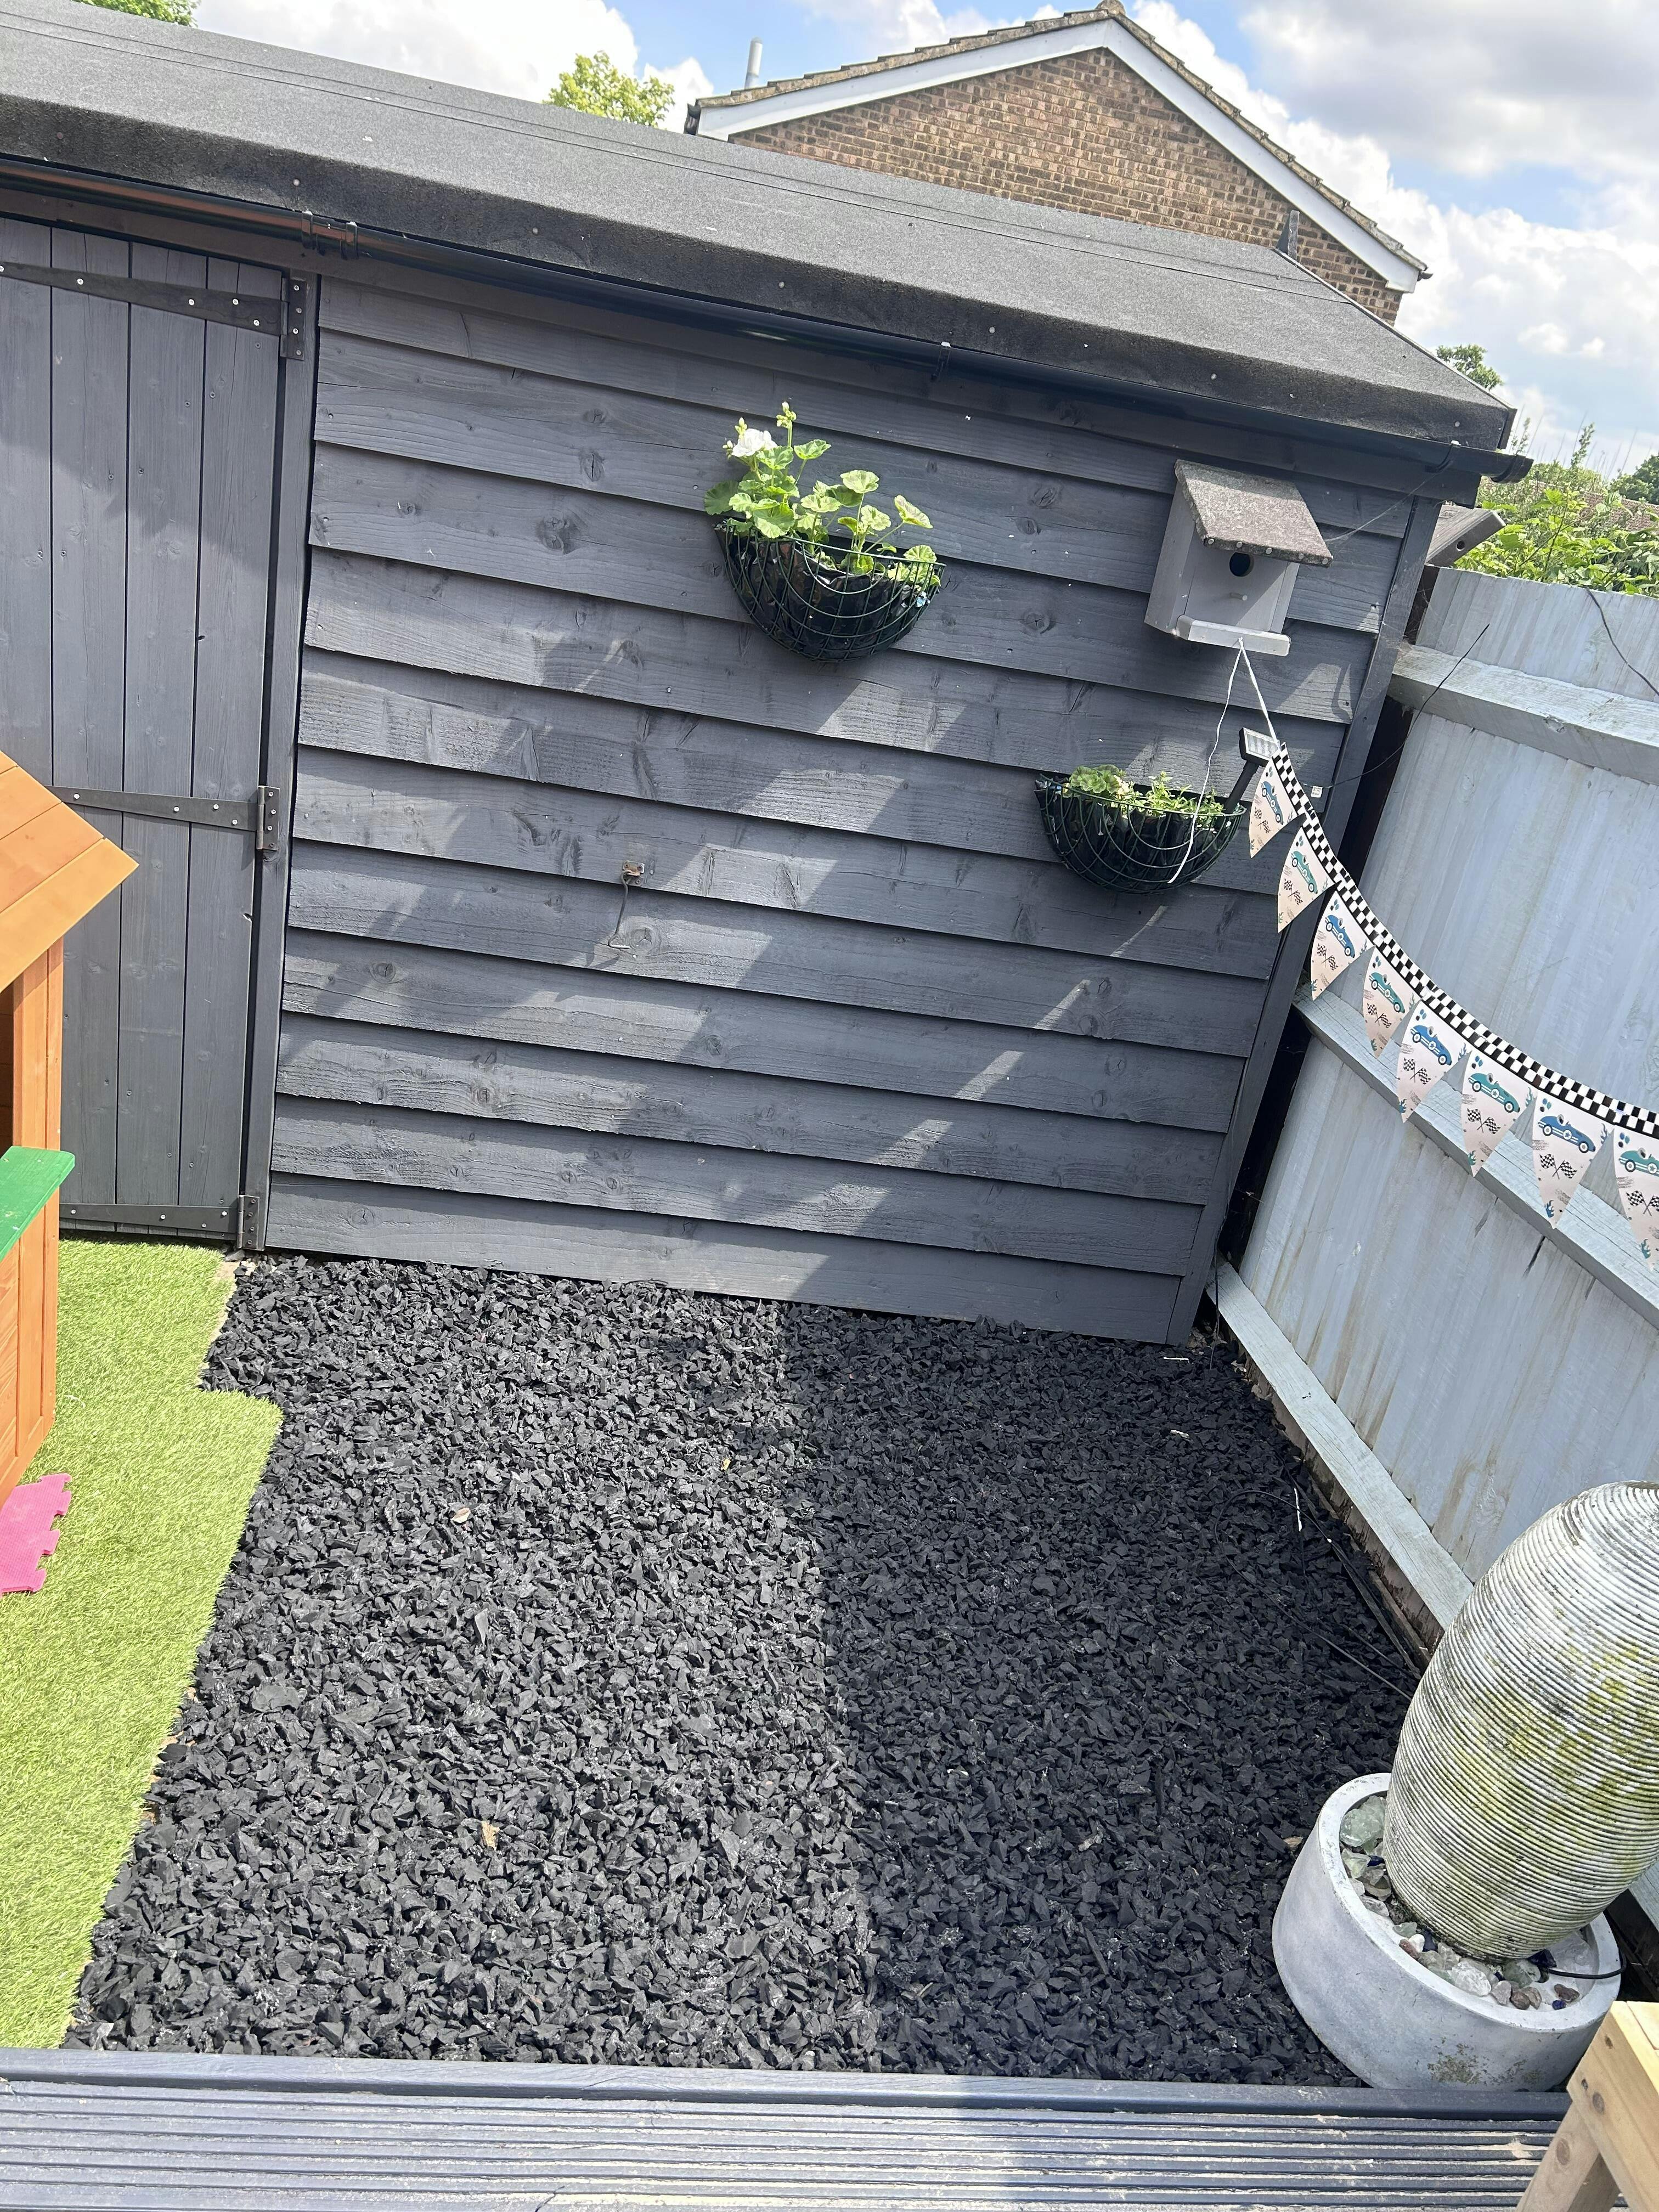
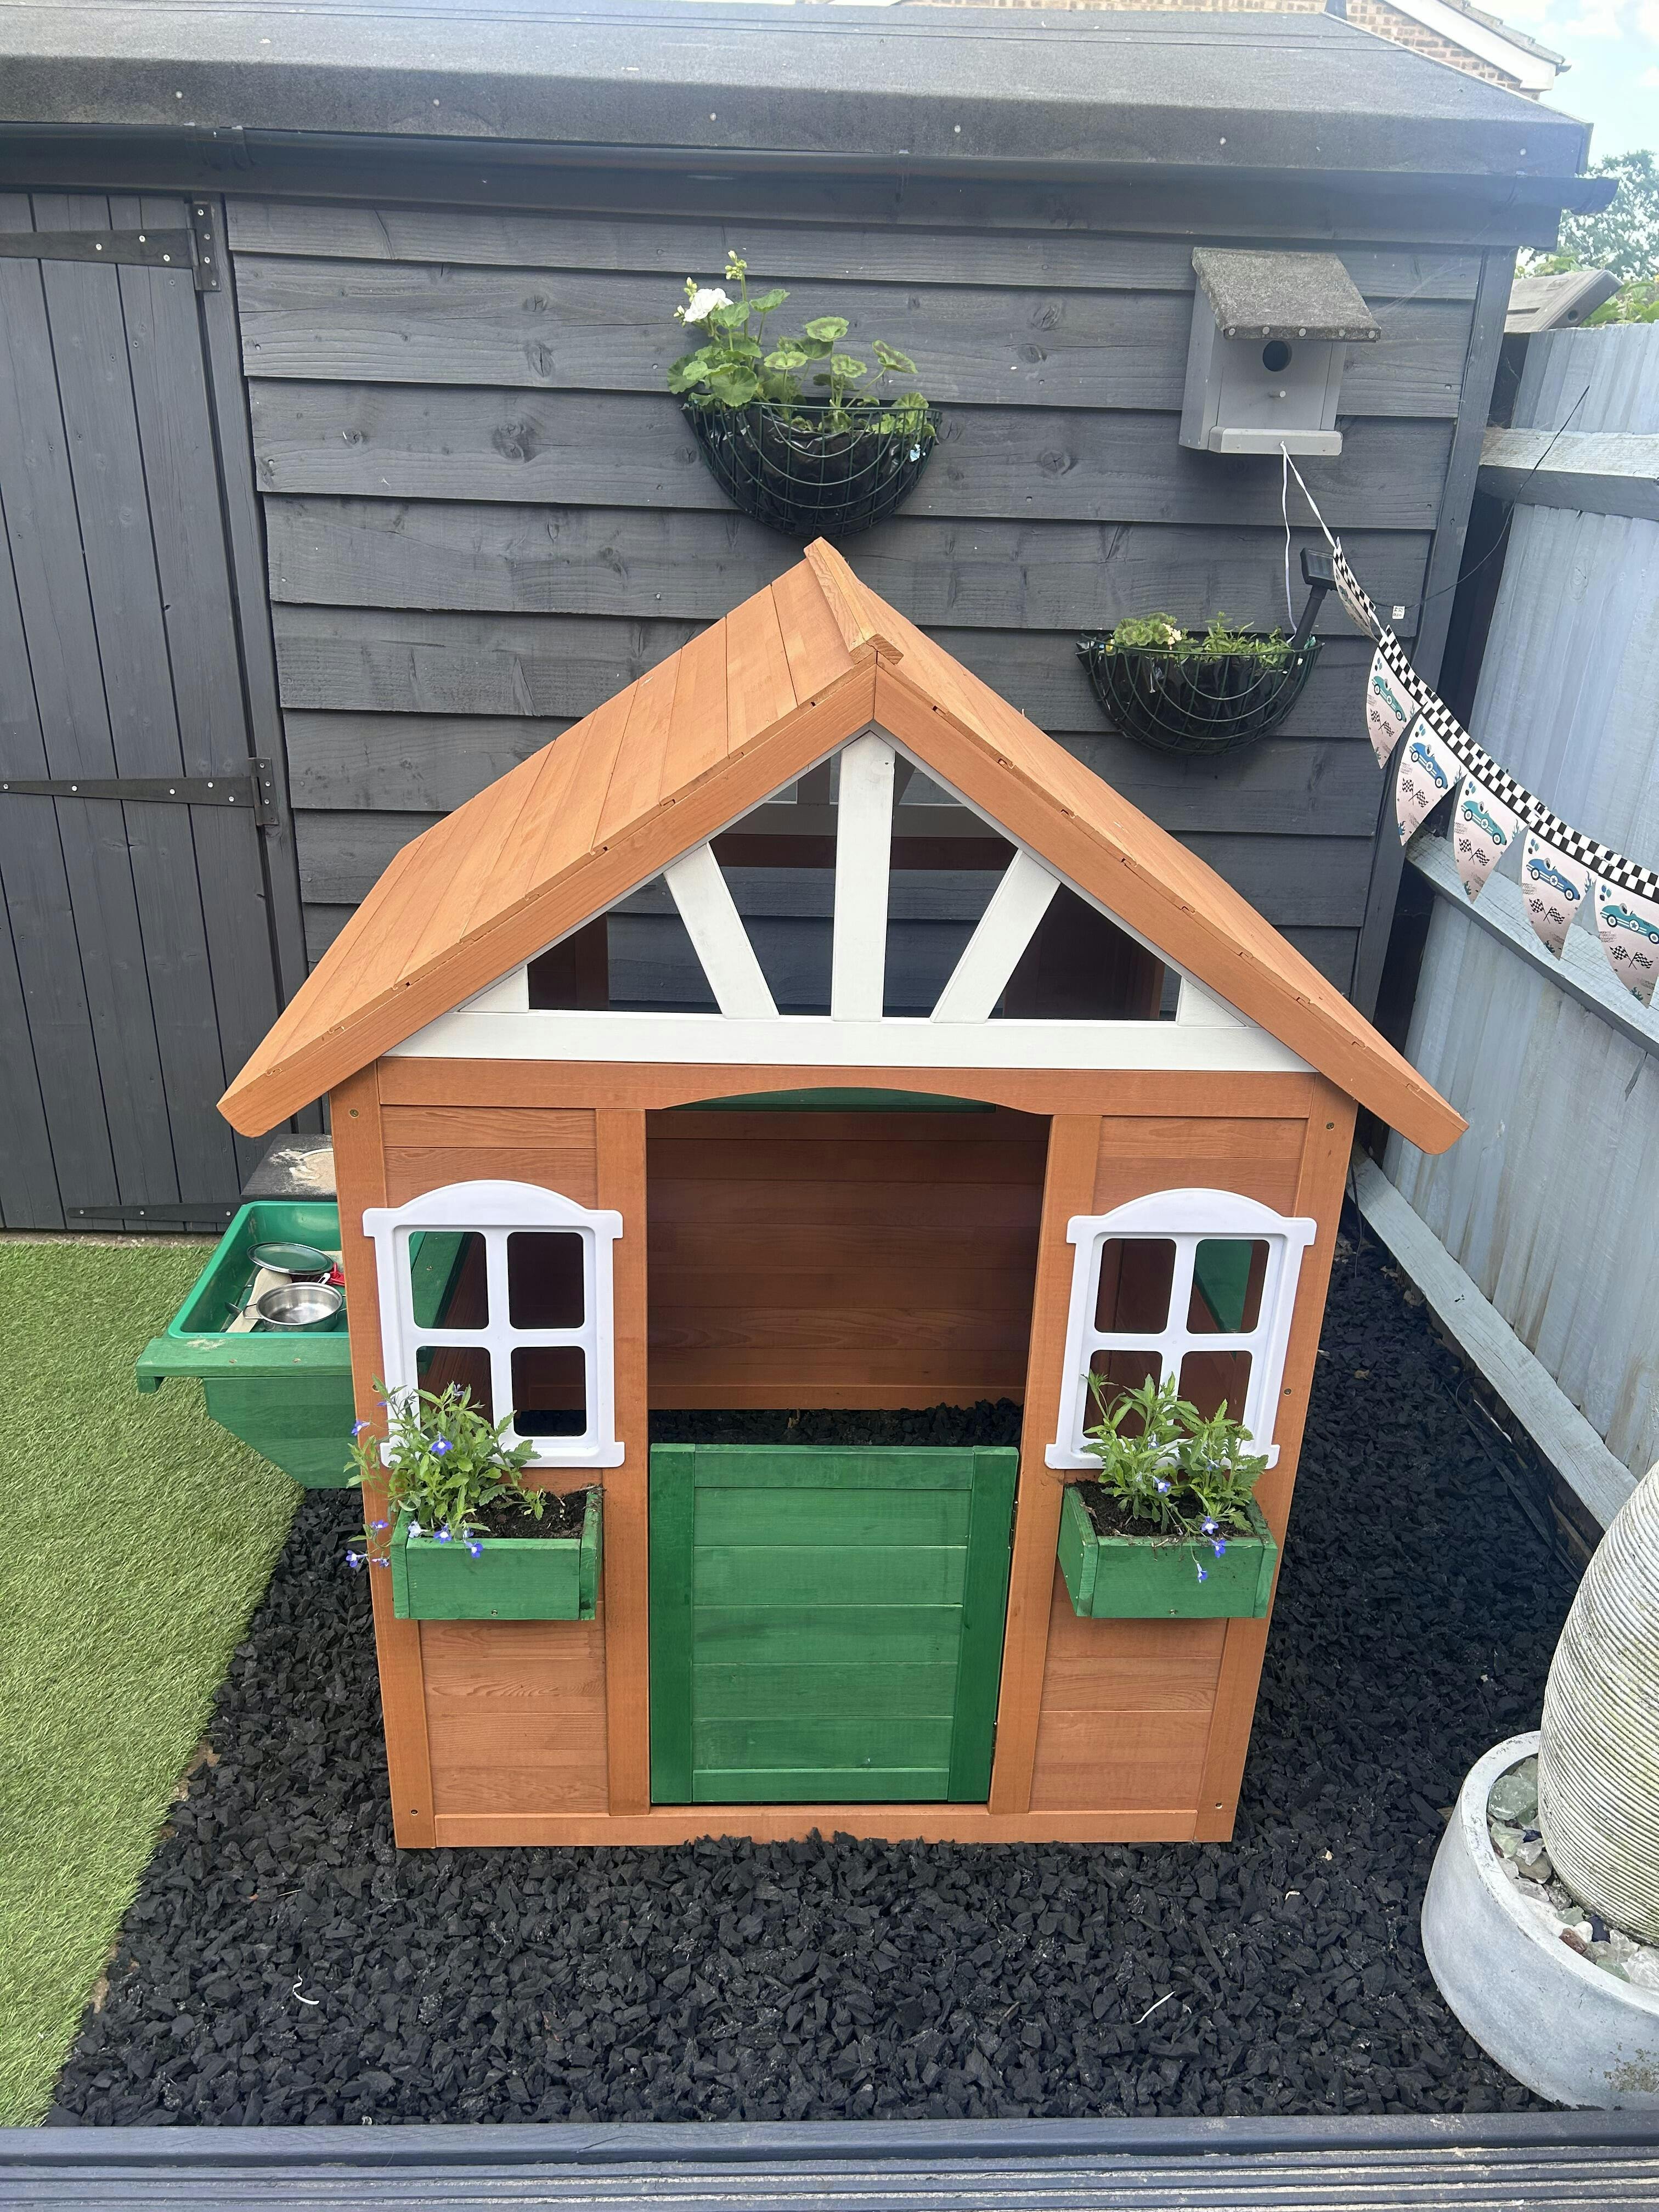
Bark is exactly what we were after and looks great in a small play area in the garden for our children.
Was slightly disappointed the dispatch took so long - 4 days after ordering. Unfortunately your delivery partner DHL let you down - they didn’t deliver as per the guarantee they gave you (next day) and the tracking continued to provide a historical ETA so we had no idea when it would arrive. Upon arrival (after another weekend) the drivers unloaded on my driveway before ringing the doorbell. I got to the door (with baby in arms) and asked if they could actually deliver to the rear (easily accessible) of my property and they (quite rudely) refused. Whilst not an issue with Ground Surfaces, feedback on your delivery partner is relevant so you are aware of the end to end delivery issues you’re undoubtedly paying for!