Excellent customer service, Play Bark great, a little lighter in colour than expected but blended well with what I already had. Fast delivery delayed due to lorry breaking down but still much better than other sites I looked at. Will definitely use again.
Goods received. Great customer
Bit of a mix up with delivery but very happy with the product and the service
Great customer service and quick delivery.
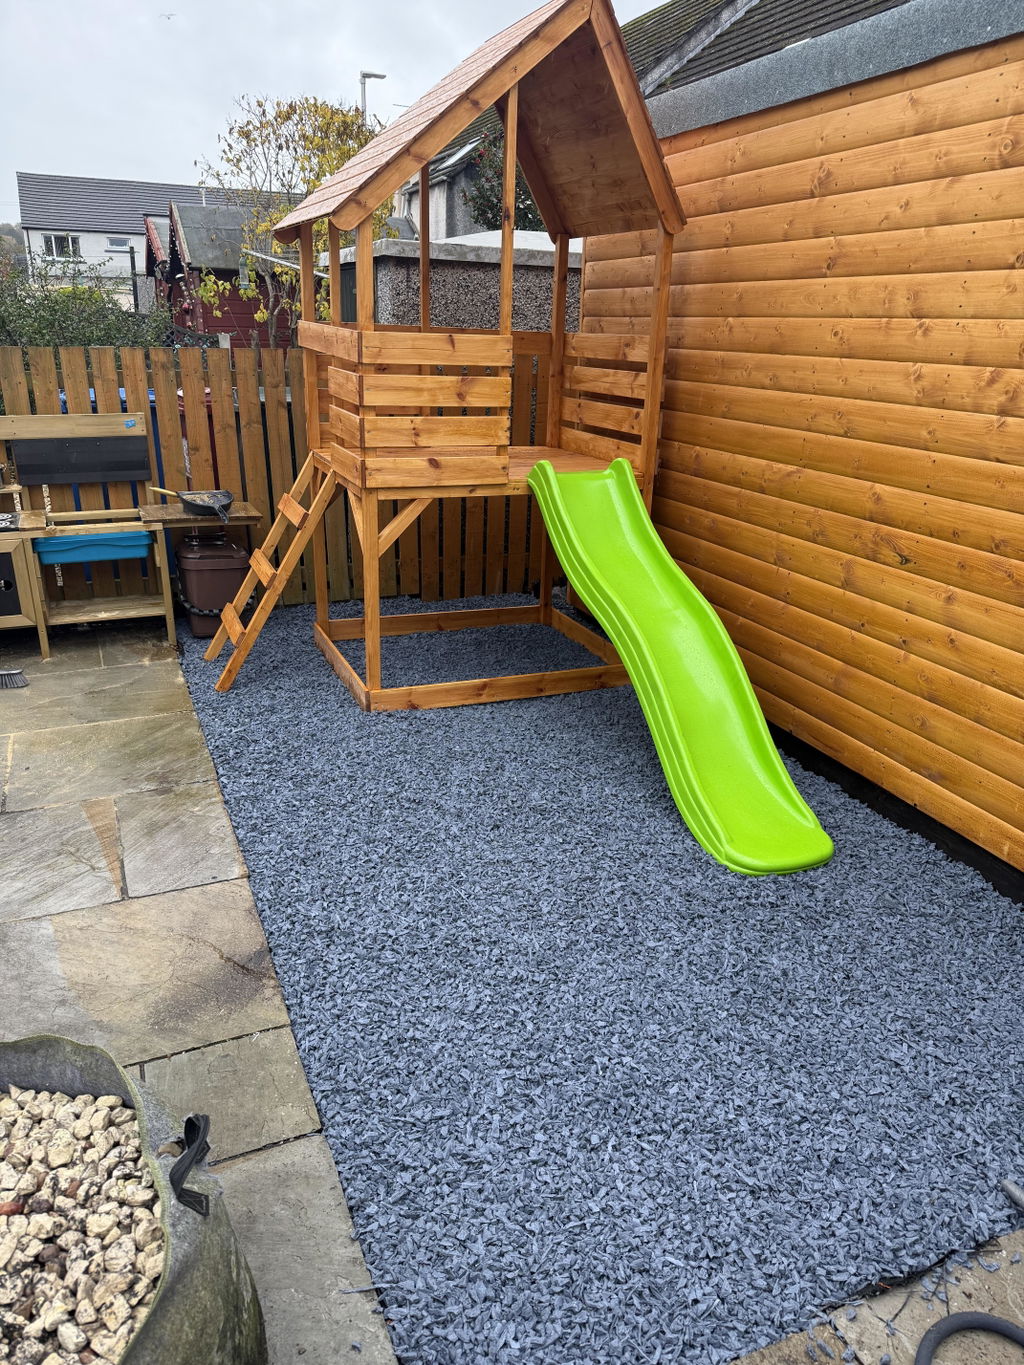
Great product, looks good in my garden for my children’s slide. Though I ordered grey, I’d say it’s a blue/grey, but is still nice and does the job. Communication was good from the company. Delivery did take a little longer than expected, but company contacted me to apologise as there was a delay with production-these things happen, and they were helpful with arranging the delivery.